**Note: The content in this article is only for educational purposes and understanding of cybersecurity concepts. It should enable people and organizations to have a better grip on threats and know how to protect themselves against them. Please use this information responsibly.**
This article will continue the advanced scanning techniques to take your knowledge of Nmap to the next level. To learn the basic commands of Nmap you can check the link:
XML Output
Nmap -oX
The nmap -oX command is used with Nmap (Network Mapper) to output the results of a network scan in XML format, which proves handy if you want to save the scan results in some structured, machine-readable format to process it further or include it in some other tools.
Often, this is useful in automated analysis – especially when it’s taken together with tools that can parse the XML or when you plan to import the scan results into other systems or applications.
$ nmap <Target IP> -oX xyz.xml
-oX: Command Name
Purpose: Save nmap scan results in XML format.
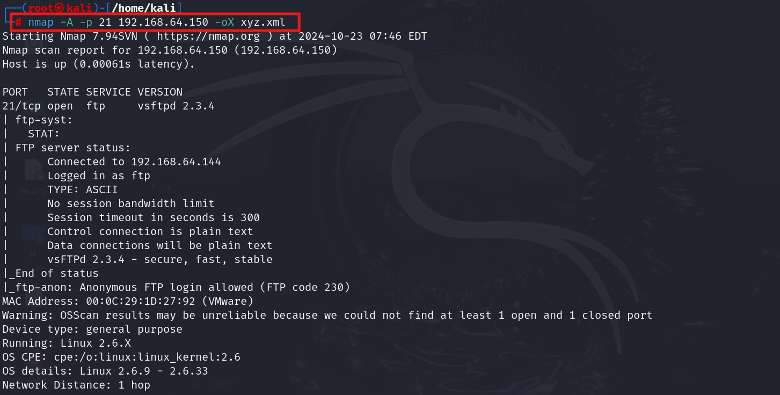
$ nmap -A -p 21 192.168.64.150 -oX xyz.xml

$ xsltproc xyz.xml -o xyz.html
- xsltproc: A command line utility that applies an XSLT stylesheet to an XML document.
- xyz.xml: This is an input XML file, which you are ready to transform.
- -o xyz.html: This option takes the name of an output file where the transformed HTML will be written.


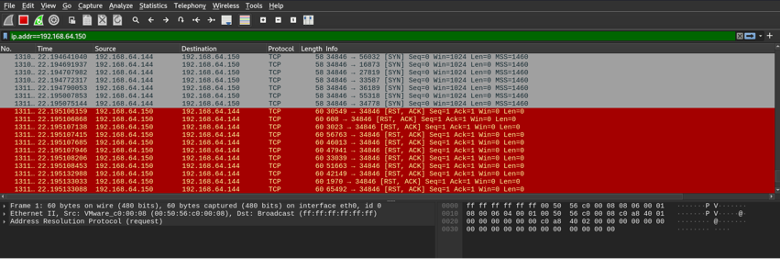
This occurs in the backend at Wireshark:


Scan an Entire Subnet
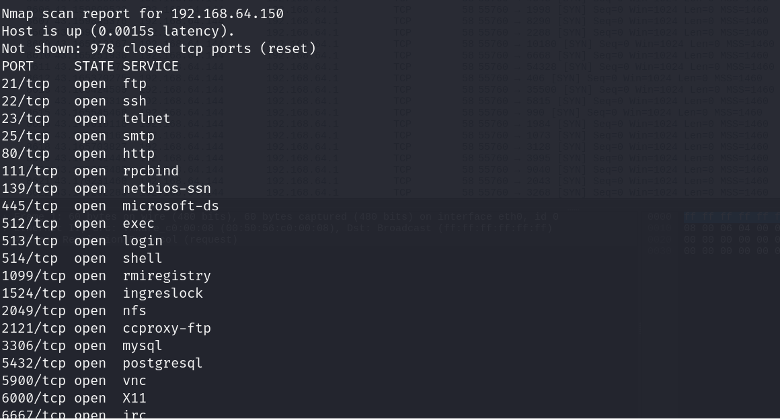
We can scan an entire subnet through Nmap using CIDR notation.
$ nmap <network/CIDR>
$ nmap 192.168.1/24


The example we just saw tells Nmap to check out the whole 192.168.40.0 network using CIDR notation. CIDR notation puts together the network address and subnet mask (in binary bits) with a slash between them.
This occurs in the Backend at Wireshark:


Scan Multiple ports
We can scan multiple ports in Nmap using the below command:
$ nmap -p <multiple ports> <Target IP>
$ nmap -p 80,443,22,21 < 192.168.64.150>

This occurs in the Backend at Wireshark:

Scan a Range of Ports
We can scan a range of ports in Nmap using the below command:
$ nmap -p 20-80 <Target IP>
$ nmap -p 20-80 <192.168.64.150>

This occurs in the Backend at Wireshark:

Scan Random Targets
We can use –iR parameter to select random internet hosts to scan. Nmap randomly generates the specified number of targets and attempts to scan them. Executing Nmap -iR 2 Nmap tool allows users to randomly generate and scan two hree IP addresses. However, engaging in indiscriminate random scanning is generally not advisable unless it is part of a research endeavour. Conducting extensive, aggressive random scanning could potentially lead to issues with one’s internet service provider.
$ nmap -iR [number of targets]
$ nmap -iR 2

This occurs in the Backend at Wireshark:

Scan All Ports
We can scan all ports in Nmap using the below command:
$ nmap -p- <Target IP>
$ nmap -p- <192.168.64.150>

This occurs in the Backend at Wireshark:

Traceroute
For tracing the network path to the specified host, we use –traceroute parameter. The data shown resembles traceroute or tracepath commands in Unix and Linux systems with the advantage of Nmap’s tracing, which is clearly functionally superior to these commands.
$ nmap –traceroute <Target>
$ nmap –traceroute scanme.insecure.org

This occurs in the Backend at Wireshark:

Output Formatting
Nmap offers multiple output options for scan results. These range from plain text to structured formats like XML, facilitating both manual review and automated processing.
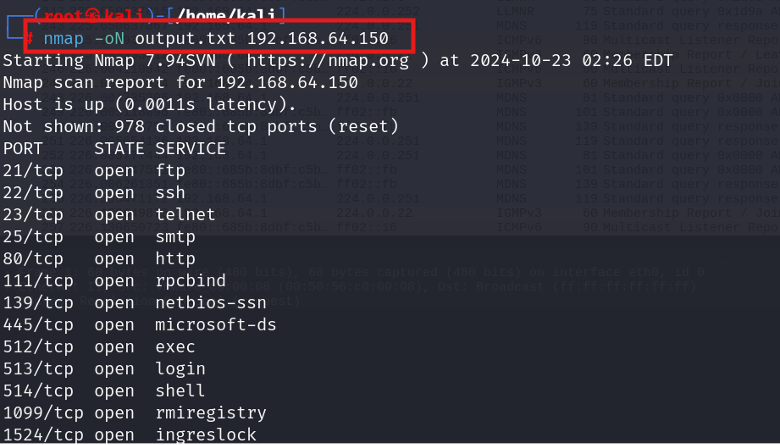
$ nmap -oN output.txt <Target IP>
$ nmap -oN output.txt 192.168.64.150

$ cat output.txt

This occurs in the Backend at wireshark:

Evasion Techniques
Evasion techniques are methods in Nmap that help one elude a firewall, intrusion detection systems, and other network security means while carrying out a scan. Several of the common techniques in Nmap evasion are as follows:
Fragment packets
By fragmenting the packets into small pieces, Nmap is able to bypass the packet filters and firewalls that are otherwise supposed to deny packets of a bigger size. Fragmentation is done through the option `-f`.
$ nmap -f -p21 <Target IP>
$ nmap -f -p21 192.168.64.150

This occurs in the Backend at Wireshark:

Specifying MTU:
This is sending packets of a specific MTU size to avoid firewall/IDS detection. Configuring the packet size to be less than the MTU of the network allows Nmap to avoid most security mechanisms that block or closely examine large packets. In order to utilize this MTU evasion technique in Nmap, an end-user could assign a value to MTU by using the –mtu option. It customizes a way of bypassing filtering mechanisms, which might be triggered with normal packet sizes, hence avoiding detection.
$ nmap -mtu 24 <Target IP>
$ nmap -mtu 24 192.168.64.150

This occurs in the Backend at Wireshark:


Source port manipulation
Setting the source port of the scan packets to a common port number that could be disregarded by some firewall or intrusion-detection system while handling the packets is accomplished by the option “–source-port”. The -g option in Nmap sets the scan source port, functioning similarly to –source-port. By specifying a source port, you may be able to bypass firewalls or filters that allow traffic from specific ports.
$ nmap -g 12345 -p21 <Target IP>
$ nmap -g 12345 -p21 192.169.64.150

This occurs in the Backend at Wireshark:

Conclusion
One of Nmap’s strengths is its flexibility and customization options. Users can fine-tune scan types, timing parameters, port ranges, and other settings to suit their specific needs or network environments. This versatility, combined with its powerful capabilities, has made Nmap an indispensable tool for network reconnaissance and security assessments.
One must also add that while Nmap is a legal and very effective application, it is also unlawful to use it in cases when you are not granted the authority to scan a certain network or hosting and it’s against the law. Like most security applications, it should be used fairly and within the necessary code of ethics.


