This article provides a brief overview of Nessus GUI webview, there are various options which will appear once a user logs into Nessus web portal.
The homepage of Nessus Professional looks like below, broadly there would be two sections, one for the scans and the other for Nessus settings:
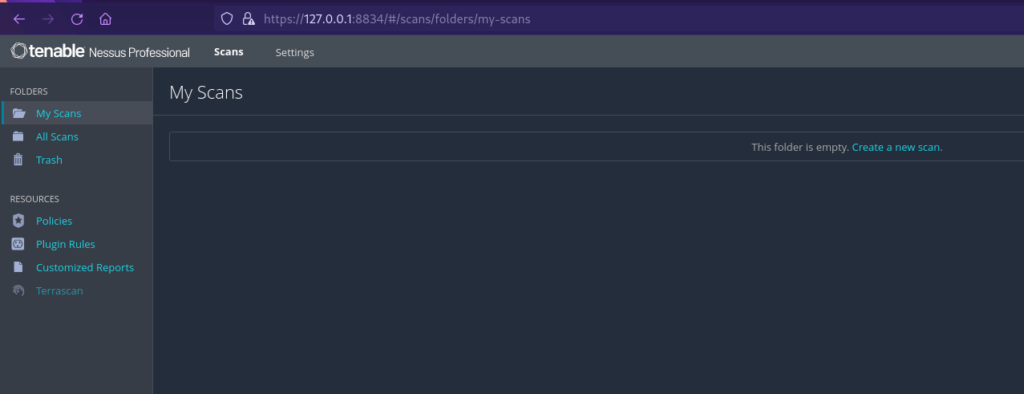
- First, lets take a look at “Settings”, page:
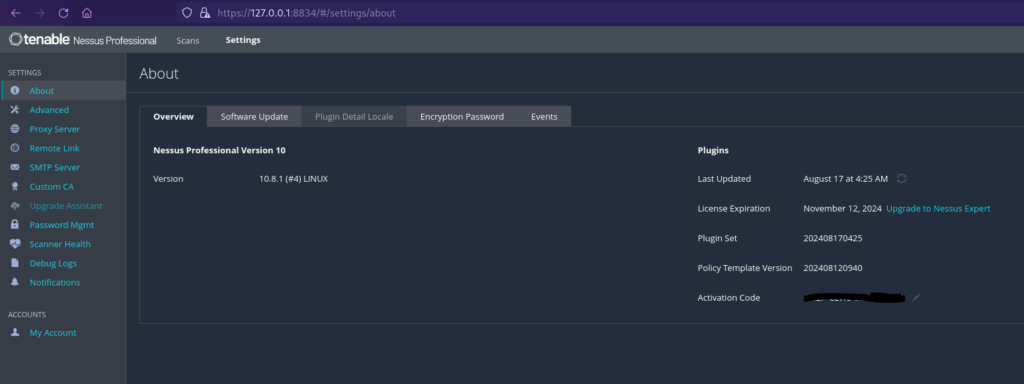
Under Overview sections you would be able to view basic details about the scanner such as:
Version: It displays the version of Nessus that is currently running.
Plugins: It shows details about Plugins set like date when plugins were updated, License expiration date, plugin set and version and at the end the Activation code would be displayed.
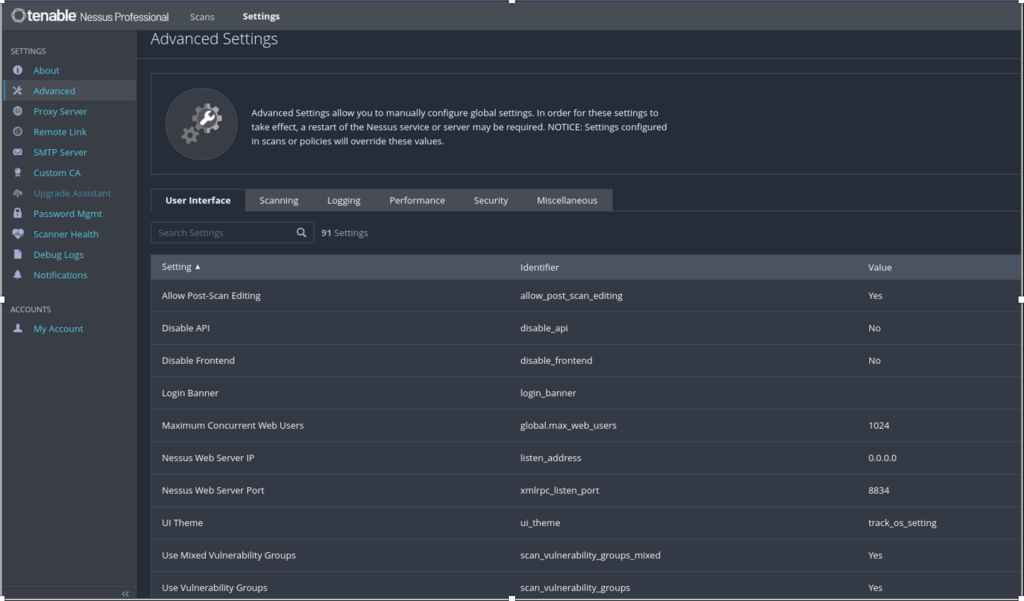
Settings: Using this option, you can make changes to the default settings of Nessus and customize the scanner as per your need. On clicking “Advanced”, below screen would be presented where you can make customised changes, like changing the Port of Nessus Webserver, whether you wish to use vulnerability grouping, listening address i.e. if you want to accept incoming connection from a specific IP or subnet etc.
Proxy Server: A brief description is already provided by Tenable for this section as below:

Remote Link: This feature can be used to make your Nessus instance get managed remotely.
Custom CA: Tenable provides a private CA which will get a warning message when you access it via browser. However, if you or your organisation need to use your own certificate then add that certificate in this section. This will also remove many false positives that may be flagged due to SSL certificate.

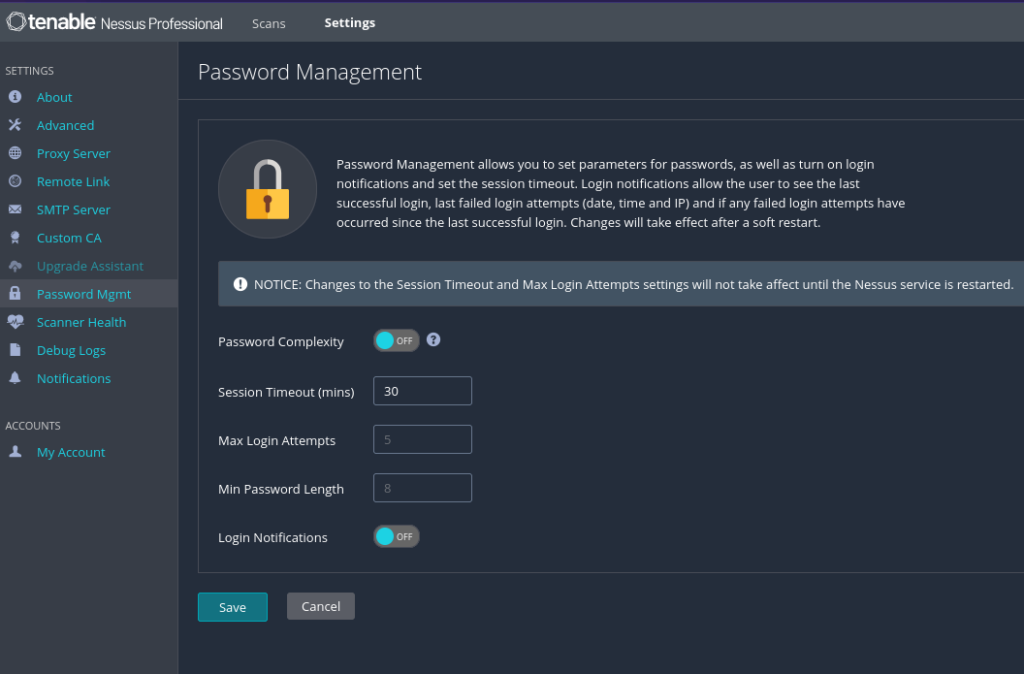
Password Management: This section allows you to change the default settings regarding session management and password complexity.
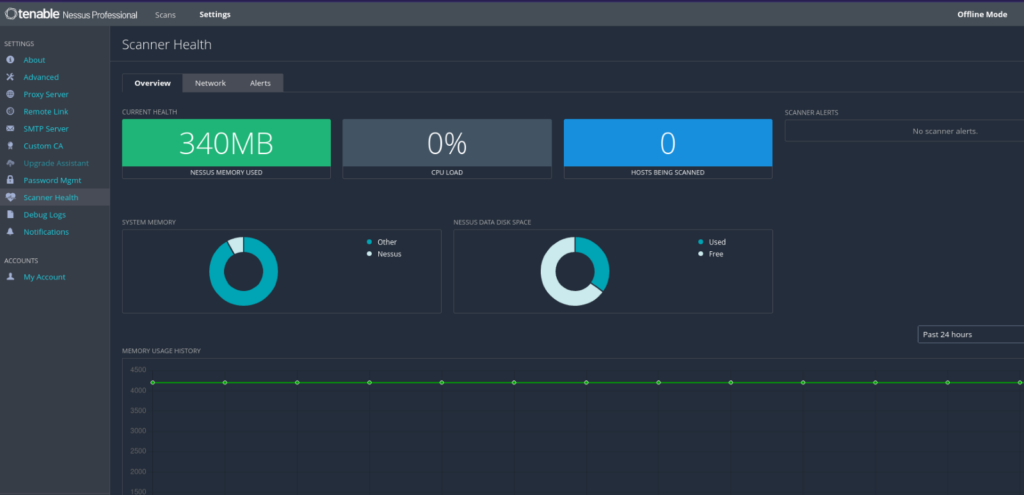
Scanner Health: This is the Scanner’s health dashboard which shows memory utilization and any events related to the scanner. These statistics can come handy for troubleshooting at times when the scanner shows some errors or issues.
Debug Logs: This section will show any debugging logs for your scanner, they provide information to assist in identifying and resolving bugs or defects.
My Account: Here you can view your account details. You can use this section to change the password of your configured account or update the API keys.

- Scan Section
My Scans: Your current and previous scans would be listed in this section. Here you can download vulnerability reports, delete old scans and configure new scans.

All Scans: Similar to My Scan section with a slight difference that here you would also see those scans which you had moved to trash along with the current and old scans.

Trash: This is like Recycle Bin. Scans that the user had removed from My Scans section before deletion goes to Trash section and from here you can permanently delete the scan.

Policies: User can create their custom scan policy under this section. There are multiple default templates already configured by Tenable. However, user can create a policy that suits their need.
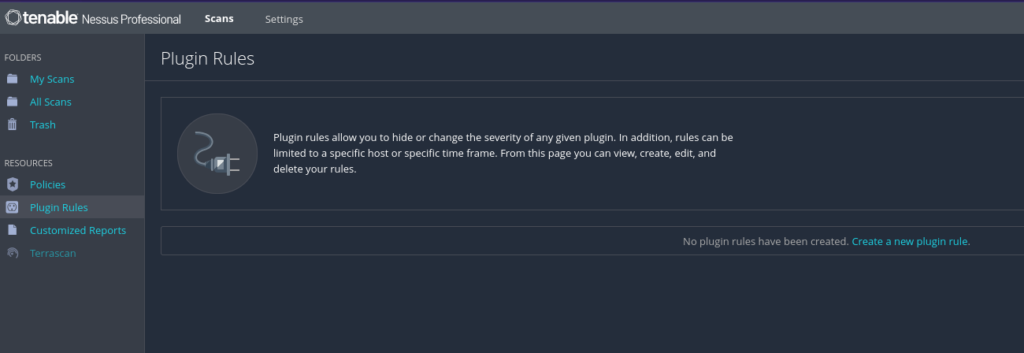
Plugin Rules: This section does not need to be tampered with unless the user has some strong reason to make changes to Nessus Plugins i.e. change their severity etc.
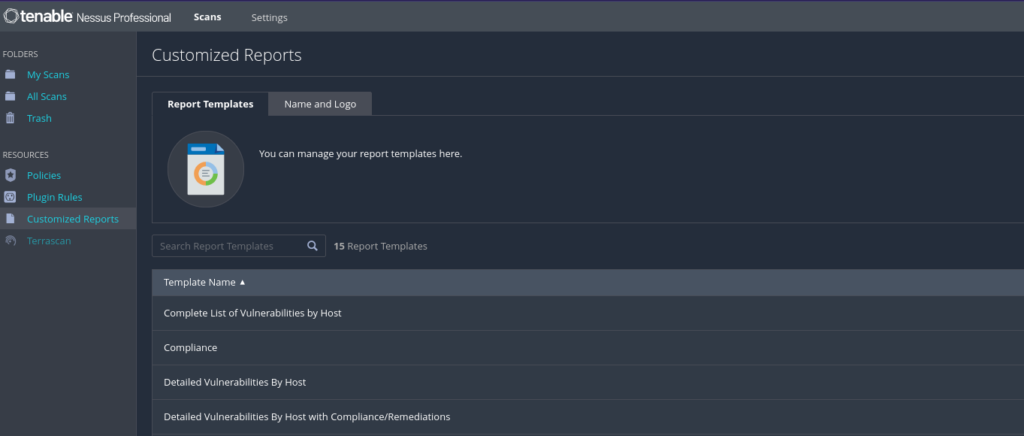
Customized Reports: User can make changes in how they want to get their scan reports formatted using this section. There are multiple options provided in this section for report formatting.
