The following guide will assist you in setting up a scan in Nessus.
Step 1: Login to the web interface of Nessus.
Browse to https://127.0.0.1:8834/, accept the SSL certificate warning and continue to the login screen as below:
Step 2: Provide the credentials for your Nessus installation and login.
Step 3: Click on “Create new scan” in the center of the screen or on the “New Scan” button at the top right-hand corner.
Step 4: Select the policy you want to use as per requirement.
Since we are using Nessus Professional version in our installation, Tenable provides a list of pre-configured policies for conducting scans, as can be seen in the snapshot below.
For the demonstration purpose we shall use the Host discovery policy, Tenable provides a short description about each vulnerability scan.
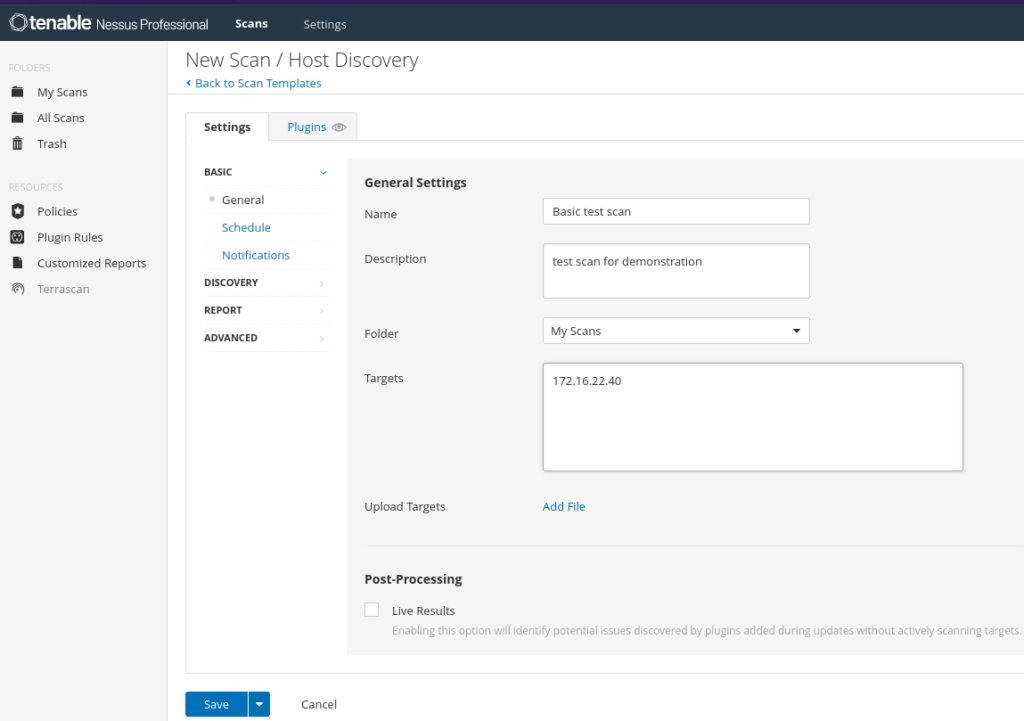
Step 5: Provide the name, description (if required), the target IP/URL and hit the Save button. If needed, you can change the other options listed on the left pane like, Schedule, Discovery, Report etc. or you can simply use the template as it is:

Your scan will now start to appear on the homescreen under the My Scan view of Nessus.
Step 6: Click on the Launch button to run the scan
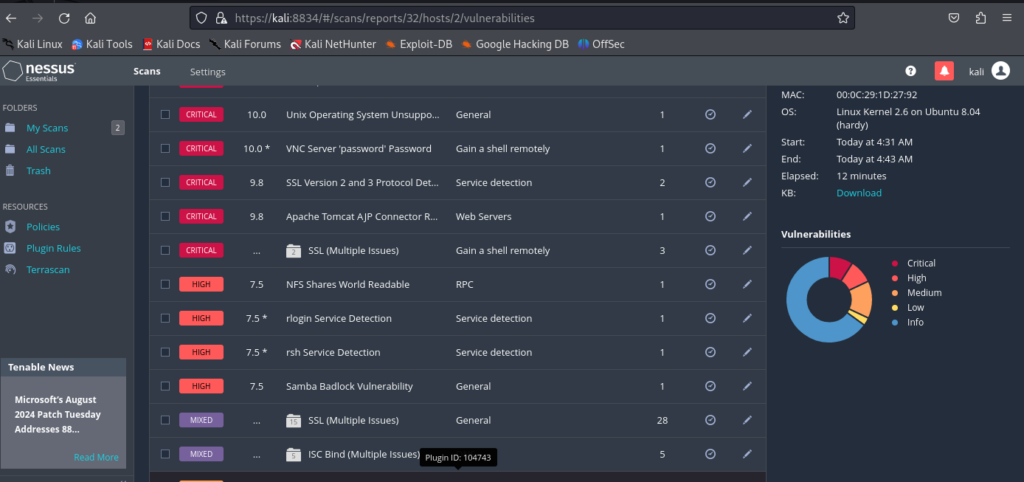
Once the scan gets completed, you can view the vulnerabilities of your target and access the report.

Happy Scanning and Securing!!


