**Note: The content in this article is only for educational purposes and understanding of cybersecurity concepts. It should enable people and organizations to have a better grip on threats and know how to protect themselves against them. Please use this information responsibly.**
Introduction
BloodHound is designed to generate graphs that uncover hidden relationships within an Active Directory network and also offers support for Azure. It helps attackers identify complex attack paths that would be difficult to detect otherwise. Similarly, BloodHound can assist Blue Teams in identifying and remediating those attack paths to strengthen security.
Linux Installation
There are several guides and methods available for setting up and installing BloodHound on your host machine. In this guide, we’ll refine the installation process by following the official BloodHound documentation available on GitHub. Before installing any tool on your Linux system, it’s recommended to update and upgrade your software packages. If Java isn’t already installed, you’ll need to install it to proceed. However, since we’re using Kali Linux, which includes Java by default, we won’t cover Java installation here. Setting up BloodHound involves three main components: the BloodHound GUI, the data collector, and the Neo4j database, each of which needs individual configuration. We’ll start with the BloodHound GUI, which can be installed directly with the `apt` command.
$ apt install bloodhound
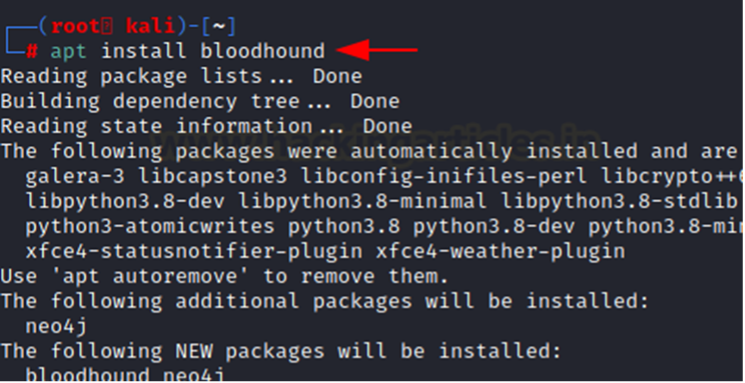
Next, we need to configure the Neo4j service, which will store the data that can be visualized in graphical form. Running `apt install BloodHound` also installs Neo4j; however, if it wasn’t installed in your case, you can manually install it by running `apt install neo4j`. Now, we’ll set up the authentication and other settings for the Neo4j service. To do this, start the Neo4j console instance, which will host the remote interface accessible through a web browser. By default, this interface is available on port 7474.
$ neo4j console
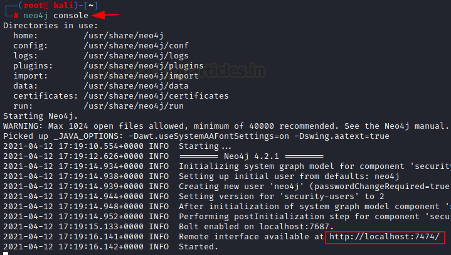
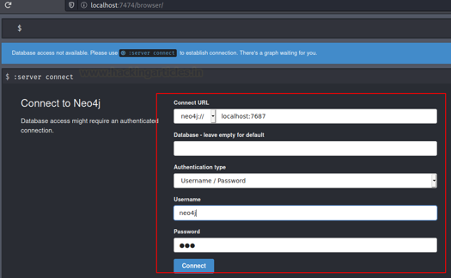
By entering the highlighted URL from the image into a web browser, you’ll access the Neo4j remote interface. This page includes some pre-filled values and some blank fields. Here, enter a username (we’ll use “neo4j”) and set a password. After submitting this information, you’ll be connected to the Neo4j database.
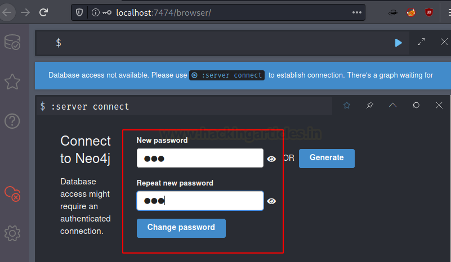
Before connecting, you’ll be prompted to change the password on your first login. Enter a password of your choice, then proceed to connect to the Neo4j remote interface.
With the Neo4j service up and running, you can now launch the BloodHound GUI. Simply type `BloodHound` in your terminal and press Enter. Alternatively, you can find BloodHound in your list of installed applications in the Kali Linux menu and run it directly from there.

When the BloodHound GUI opens, it will prompt you to enter the credentials you set up during the Neo4j configuration. Use the same credentials to log in. You also have the option to save your credentials, allowing you to bypass the login process each time you use BloodHound.
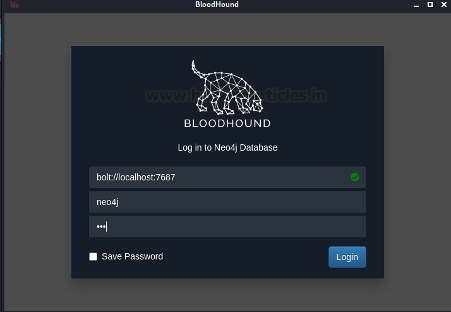
After logging in to the BloodHound GUI, you’ll see a blank white screen with interactive buttons on the right and a search box on the left with attached modules. This completes the setup of the GUI.
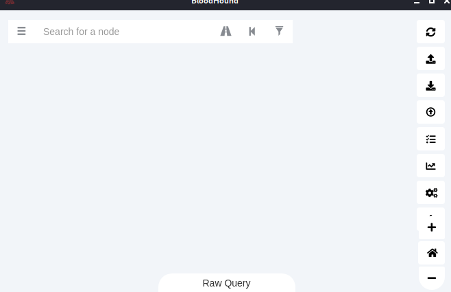
As mentioned earlier, BloodHound visualizes data in detailed graphs and identifies possible attack paths. Data from the domain is needed to generate these graphs. We can gather this data by installing a data collector, which we’ll set up next.
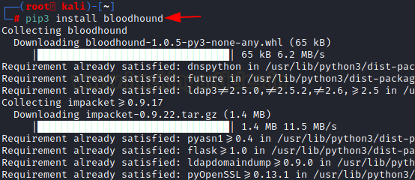
When installing the data collector known as “BloodHound,” be aware that this tool gathers data from the domain. This could lead to some confusion with the BloodHound GUI we previously configured, which utilizes this data to create visual graphs. Since the data collector is built in Python, you can install it using `pip3`, as shown in the image below.
$ pip3 install bloodhound
Extracting Data from Domain
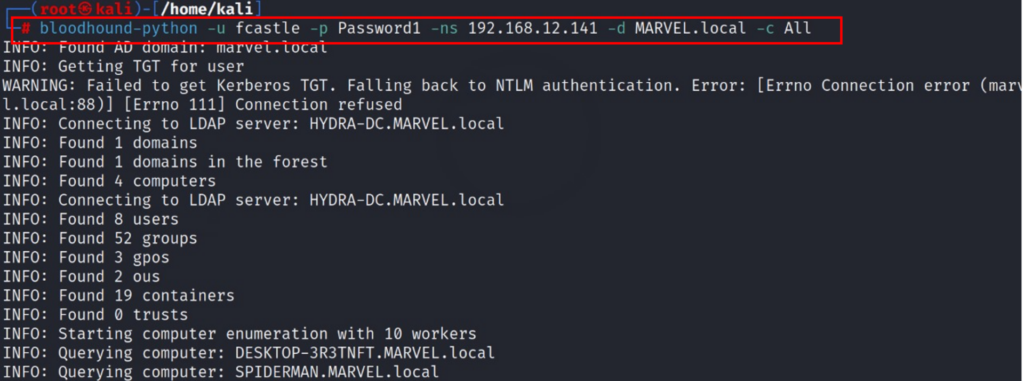
We will now run the Python-based BloodHound data collector that we installed with `pip3` to extract data from the domain. It’s important to note that in this setup, the domain controller, client machines, and our attacker machine are all connected within the same network. Any user account can be used to retrieve domain data, but we’ll be using the Administrator account to capture the most comprehensive data for this enumeration. In a real-world scenario, you might begin with a standard user account, running BloodHound to enumerate data that could help you escalate privileges and reach an administrator account.
To extract data from the domain, we need to specify the following parameters: username, password, the name server (IP address of the domain controller), domain name, and the scope of the data to extract (we’ll use “All” to gather maximum data from the domain). The extracted data will be saved as `.json` files, generated based on queries across the domain that explore possible paths, permissions, and relationships among various groups and users.
$ bloodhound-python -u fcastle –p Password1 –ns 192.168.12.141 -d MARVEL.local -c All
After running BloodHound-Python, the resulting `.json` files will be saved in your current directory, which you can verify using the `ls` command. To analyze these files in the BloodHound GUI, simply drag and drop them into the interface. As shown in the image below, the files you’ll typically find include `computers.json,` `domains.json,` `groups.json,` and `users.json.`
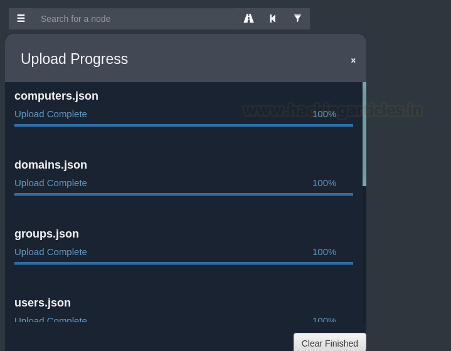
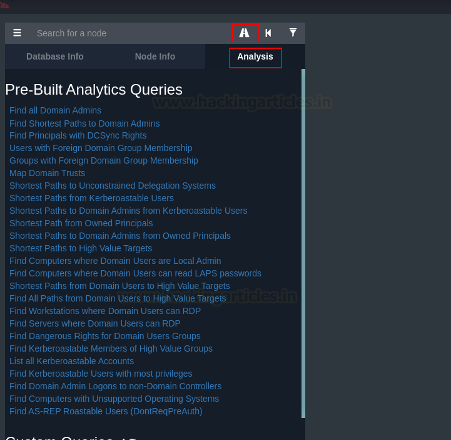
Once all the `.json` files are uploaded, the BloodHound GUI will begin plotting the graphs. With the domain data now loaded, you can either enter custom queries to generate specific graphs or use the pre-built queries. In this guide, we’ll be using the pre-built queries.
Enumerating with BloodHound
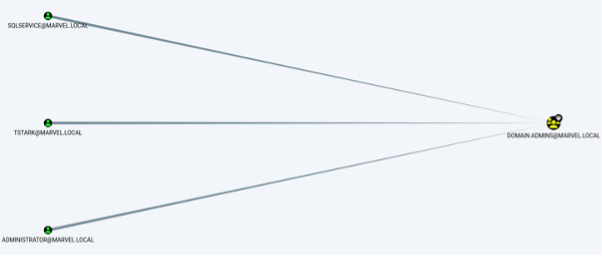
Let’s start our enumeration using the Pre-Built Analytics Queries. The first query we’ll use is “Find all Domain Admins.” This query will retrieve all the Domain Admins found in the database and display them on the graph, as shown in the image below. Since our domain has only one Domain Admin, the graph shows a single node representing the admin, along with two groups under that admin.
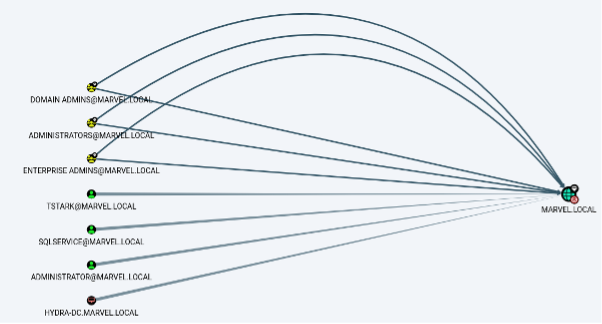
Next, we will run the query “Find Principles with DCSync Rights.” This query is employed to ascertain user accounts, groups, or computers that have the right privileges to engage in a DCSync attack. DCSync enables intruders to emulate critical components of information in the active directory, like password hashes, which is a huge security concern. Executing this query allows defenders to identify possibilities of compromising security and address these measures by restricting unnecessary privileges or establishing surveillance for any abnormal behavior.
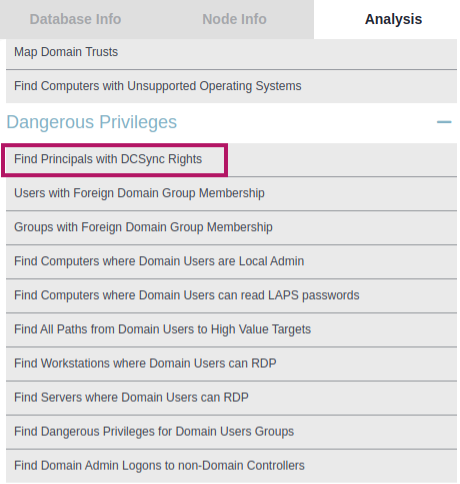
And it showed all the accounts having DCSync Rights
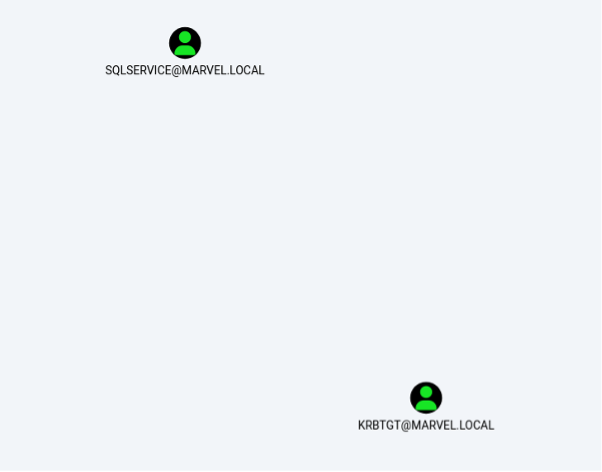
If we want to find whether kerberoasting can be done or not, we can execute “List all Kerberoastable accounts” Query

In an Active Directory implementation, it aims to discover user accounts that are weak against Kerberoasting attacks. Kerberoasting is a method in which service accounts are requested for service tickets, which are then cracked off their hashes in the offline mode in order to obtain the real password. This attack is aimed at active directory accounts that have service principal names since they are registered with the Kerberos service. Once the security experts have found these weak accounts, they need to take measures to improve the password policies, restrict the account permissions more, and watch for unusual TGS requests in order to decrease such security risks.
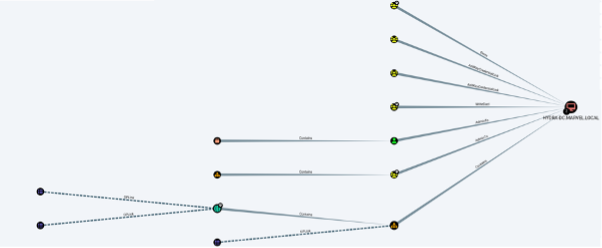
We can also find the paths to unconstrained delegation systems by executing a query “Shortest Path to Unconstrained Delegation Systems.”
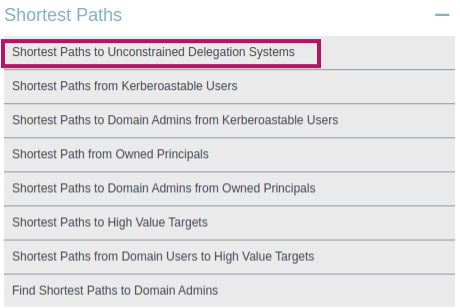
The BloodHound tool queries “Shortest paths to unconstrained delegation systems.” This query is used to ascertain the attack paths that an adversary could take in order to reach systems that have unconstrained delegation support in Active Directory. Unconstrained delegation permits a service to represent every user who authenticates it to other services in the domain, which is highly dangerous if such functionality is misconfigured. Hence, these shortest paths can be viewed as sequences of potential attacks by the defender who understands their position within the system. This insight allows the defender to reinforce the security of important areas, reduce the level of delegation, and take other actions in order to prevent the attack from taking place. This forward-looking strategy is critical in improving the security of the environment by taking care of vulnerabilities that enemies can use to gain entry.
Conclusion
In conclusion, enumeration through BloodHound stands as a clear allocator for probing the intricate aspects of an Active Directory environment. Using its professionally endorsed data collection and visualization capabilities, security professionals can outline potential paths and vulnerabilities for attack within the domain. BloodHound, coupled with other tools of an overall security system, can go a long way in fortifying against cyber threats, making the infrastructure much more secure and resilient.


