**Note: The content in this article is only for educational purposes and understanding of cybersecurity concepts. It should enable people and organizations to have a better grip on threats and know how to protect themselves against them. Please use this information responsibly.**
Maltego is a powerful open-source intelligence tool. It gathers publicly available information, assembles it, and presents it as a graph. It does all this in one place, which makes the gathered information easy to interpret.
Maltego Transforms
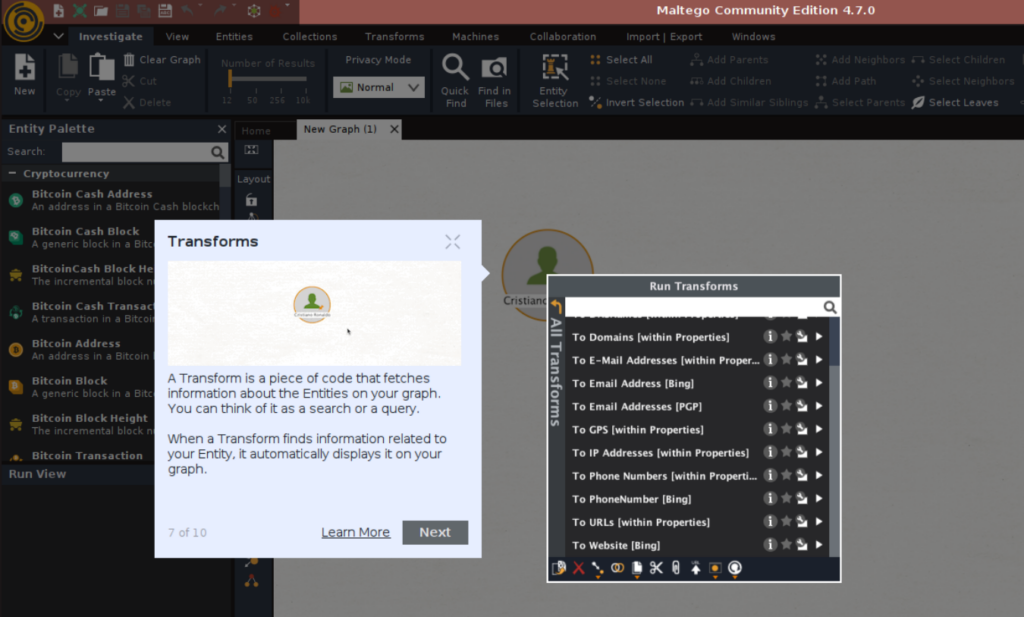
Maltego transforms are automated tools that enhance data analysis by converting input entities into related output information. These scripts streamline investigations by uncovering connections across various data sources, including open-source intelligence, network data, and cybersecurity information. Maltego provides a range of pre-built transforms and allows users to create custom ones, enabling investigators to expand their research and visualize complex relationships efficiently. Transforms significantly boost the capabilities of Maltego by automating data collection and analysis for tasks such as digital forensics, threat intelligence, and network mapping.
Maltego is available in 3 types: –
Maltego XL: It is for large graphs and can contain up to 1 million pieces of information and transforms can return up to 64000 entities. Suitable for commercial use where there is an extensive database.
Maltego Classic: This is also used for commercial purposes and can be used with internal transform servers but restricts the total number of entities on a graph to 10000.
Maltego CE (Community Edition): It is for users who need access to the public transform servers, but not professionally. The maximum number of entities on a graph is limited and the number of entities a single transform can return is only 12. Maltego CE is free to use. It is recommended for new users who are just starting to use Maltego, as it needs to be installed initially.
Installation in Kali Linux and Registration of Maltego ID
1. Initially we can see that Maltego is not installed by typing maltego in the terminal. We can see that it cannot recognize the command.

Also, when we search for Maltego in Menu -> Reporting Tools, we see Maltego Installer.

2. Open the installer. This will open the command line interface and ask if you want to proceed with the installation.

3. Type y and press enter. Also, you will be asked for the root user password if you are not logged in as the root user.


4. Now, when you go to Menu -> Reporting Tools, you can see that it shows “Maltego” instead of “Maltego (Installer)” which means that Maltego has been installed in Kali Linux.

Also, typing “Maltego” in the command line interface shows that this command is now recognized.

5. You can open Maltego by clicking the application icon or typing in Maltego in the CLI.

6. Now, we need to register an account with Maltego CE (Community Edition). Click on the “Register” icon.

7. This will take you to the Maltego website, where you will be first asked to accept at least the necessary cookies, which you can allow by selecting “Allow Selection”.

8. Next, you’ll be asked to enter your information as shown below:


Enter your details accordingly. Remember the email ID and Password entered as it will be required later. Click on “Create Maltego ID”
9. You will now see “Welcome to Maltego” notification on your screen.

Do not click on anything, instead go to your already-opened Maltego application. This will have changed to the screenshot shown below: –

10. Press “Next” after accepting the terms and conditions.
11. You are now on Login Link Options. Click on “Browser Login”.

12. You will be redirected to the Maltego website where you will be asked to enter the email ID used to register your Maltego account and the Password provided earlier.

13. Following this, your email address will receive a link to activate your account. Login to your email ID and open the mail received from Maltego. Click on “Activate Maltego ID”.

You will get a message as shown below: –

14. You will be asked if you want to enable Multifactor Authentication or continue with standard login. You can select what suits you.

15. After selecting your login method, you will be shown that authentication has been completed.

16. Once you close the browser and return to the Maltego application, keep on pressing “Next” as shown in the series of screenshots below: –

Select Standard Transforms and click on Next.

Data Sources will be installed: –

Keep on clicking Next: –


17. Now click on “Finish” and acknowledge the privacy policy notice.

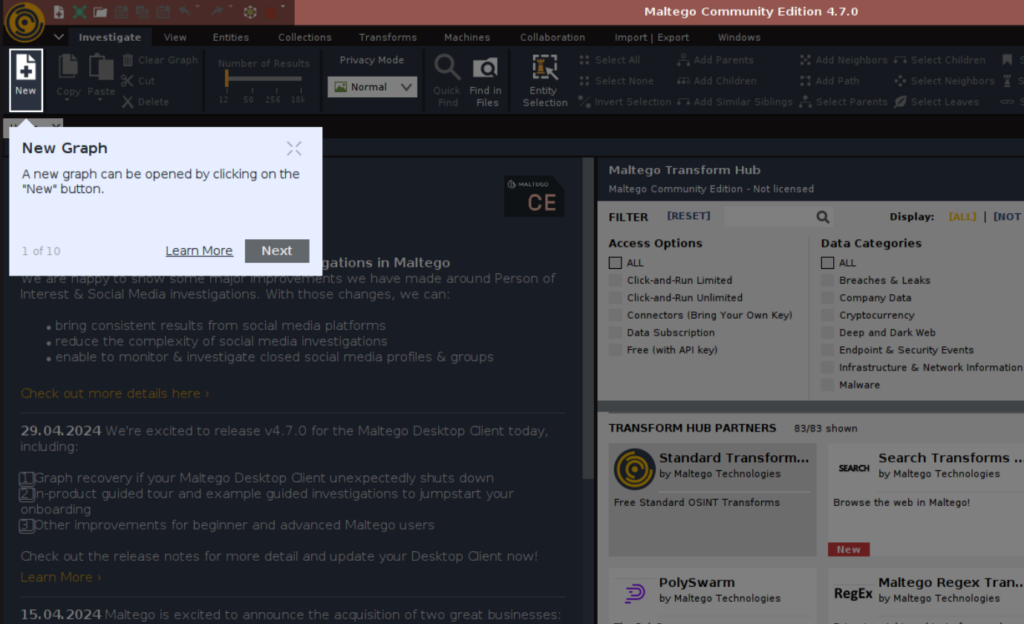
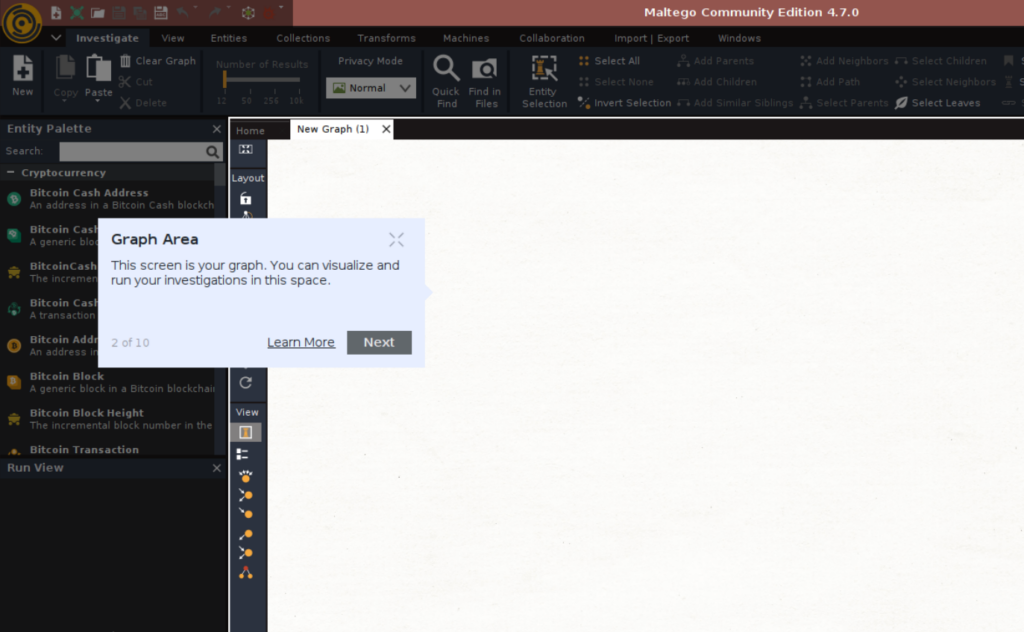
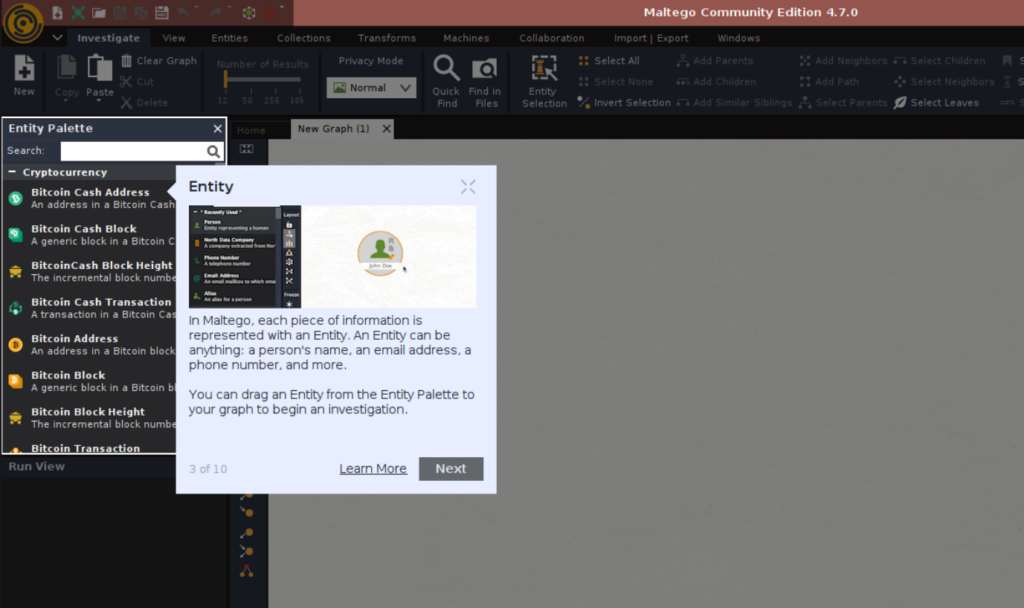
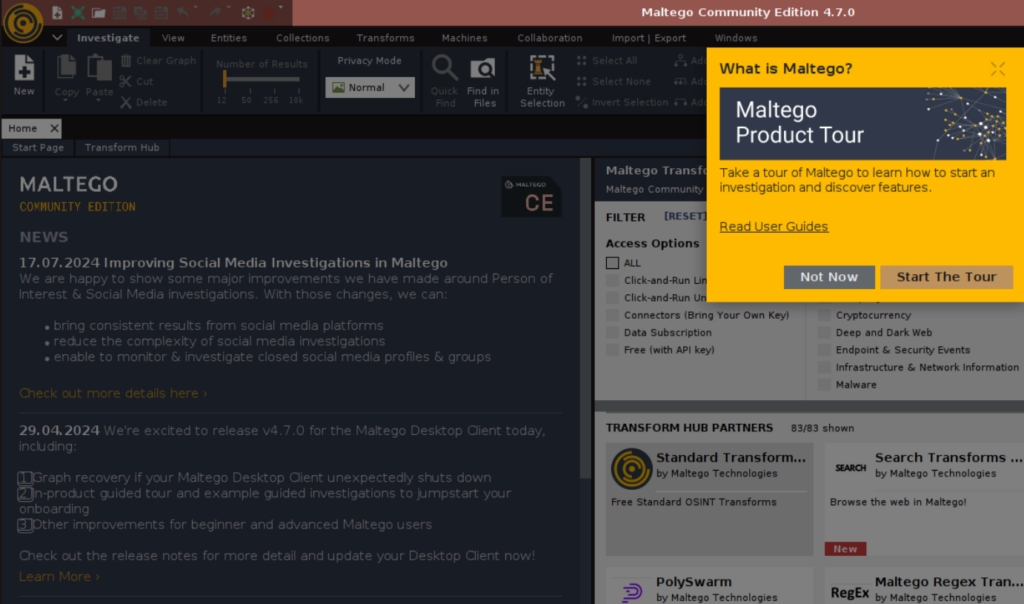
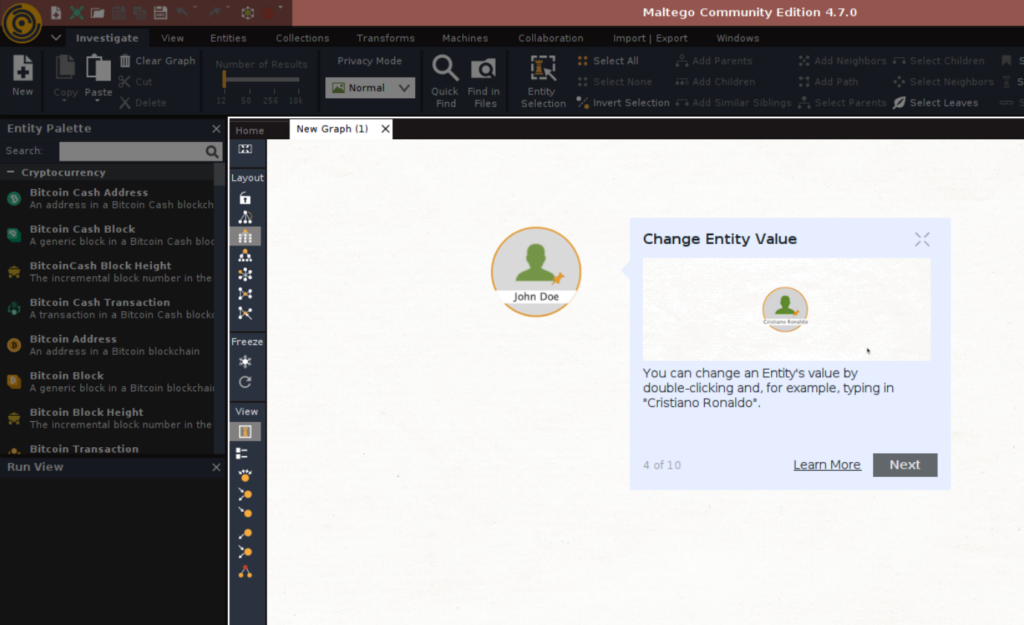
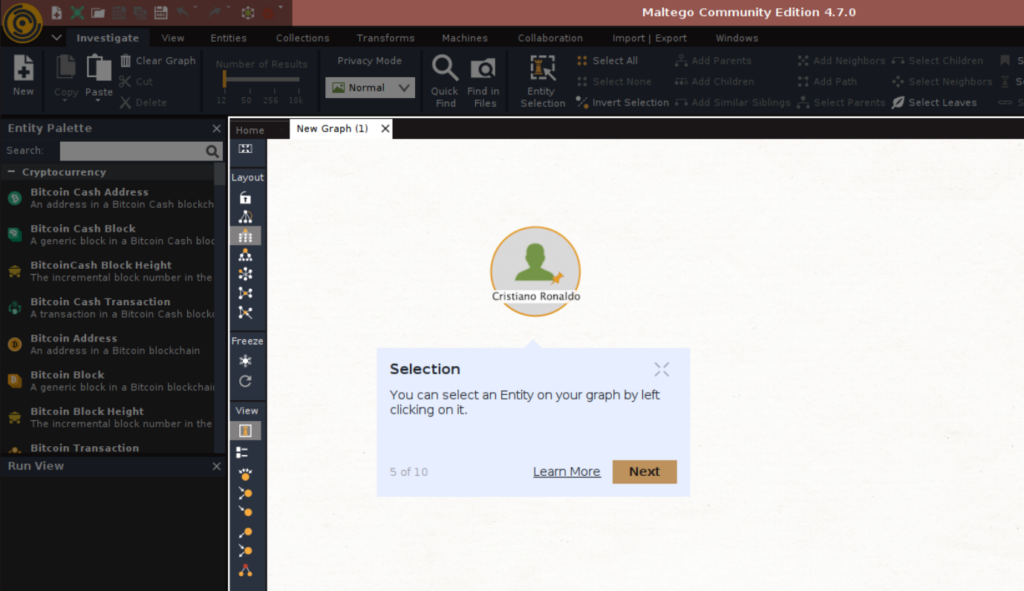
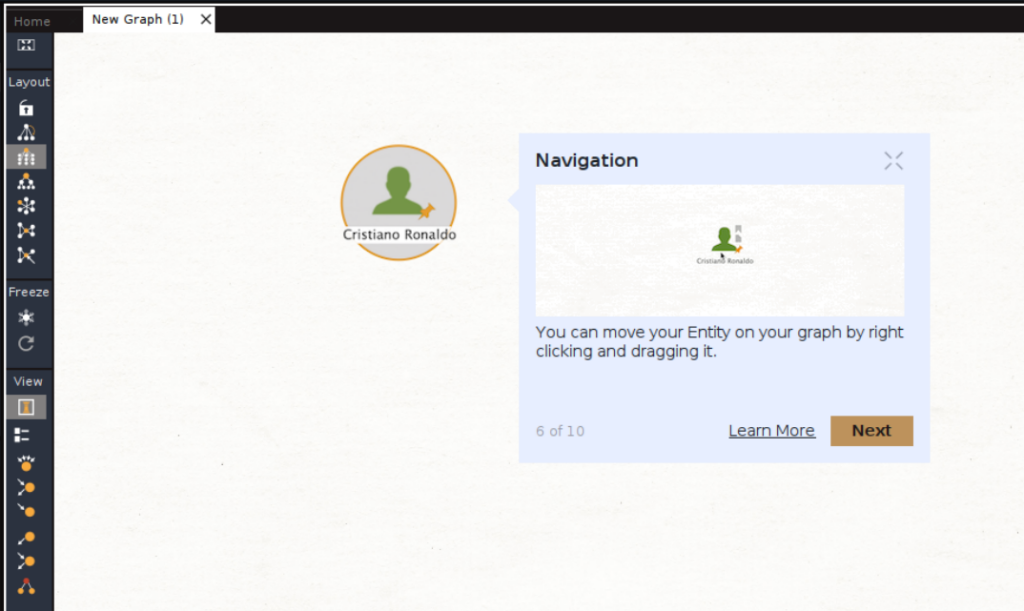
With this, Maltego is now completely installed, and your ID has been registered. You will now be asked for a product tour where you will be shown how to navigate the application.
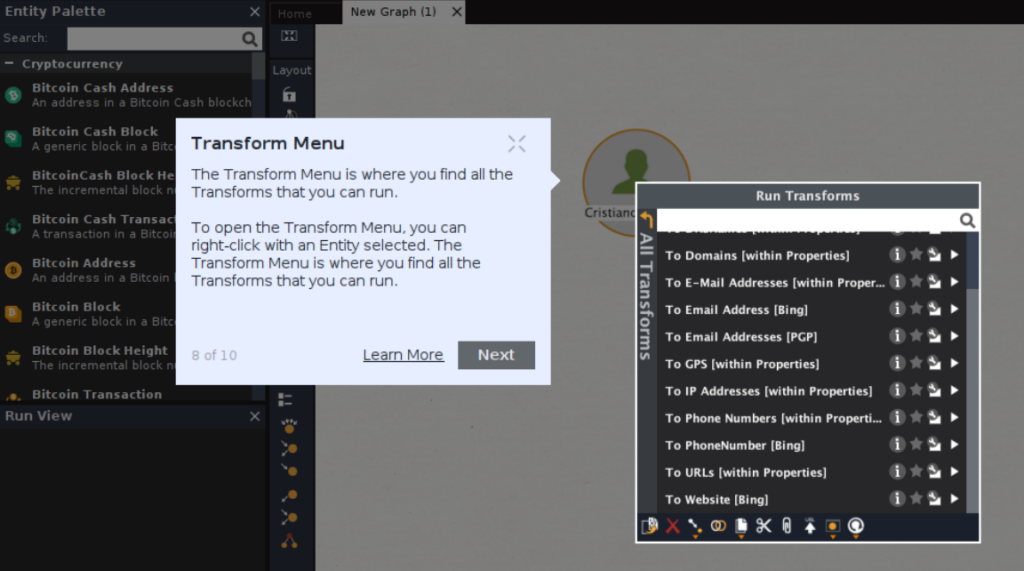
Below is a series of screenshots that show the same: –

Now that we know how to navigate, we will see how to run transforms in the next part: Maltego – How to run a transform and its use cases.


